Assignment 9: Flag design Practice 1
 Comments(0) |
 Watch the video on the top of the link so that you get the idea of the next project we will be doing! The next two assignments will be developing skills for the next project (designing a flag for Seward!)
1. Open a new document 6″ wide x 4″ tall.
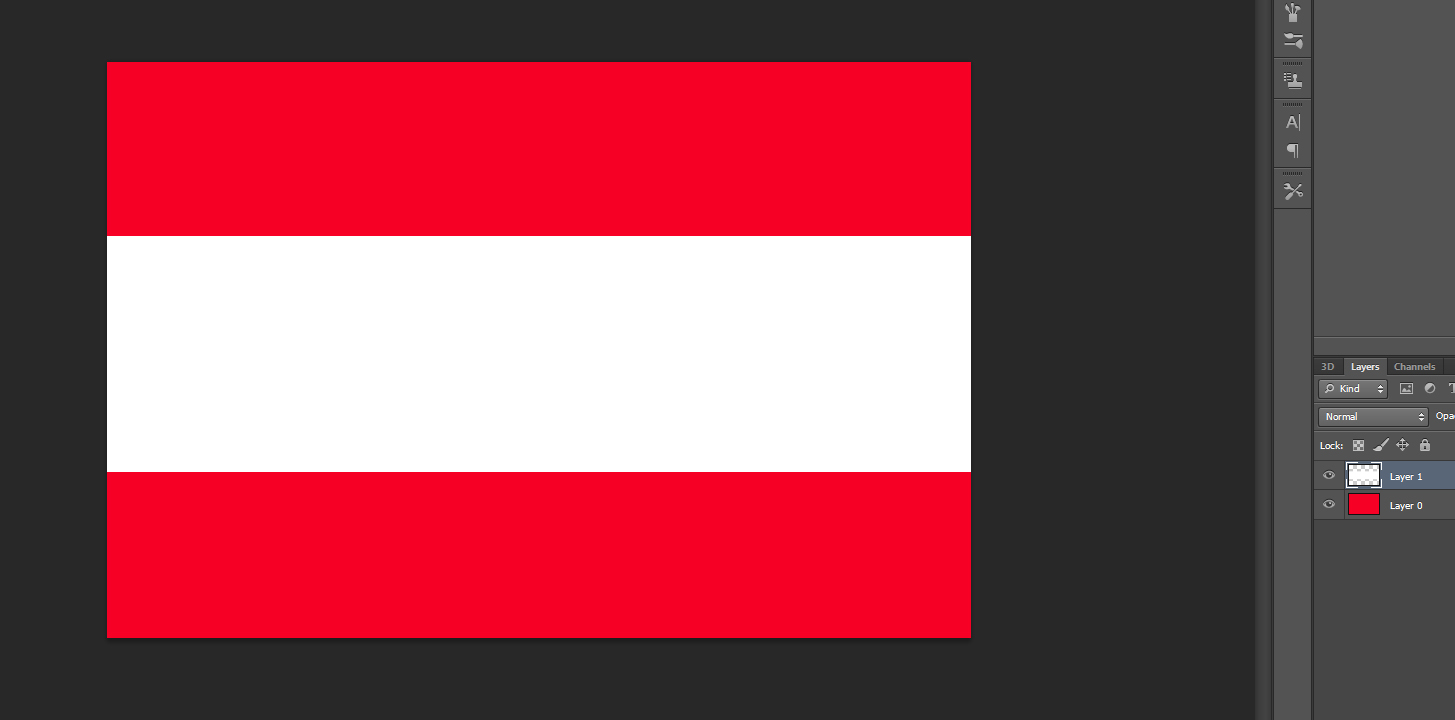
2. Using the paintbucket tool, flood the background layer red.
3. Create a new layer on top of the back ground layer. Using the rectangular marquee tool draw a big stripe that fills the middle of your document on this layer.

4. Fill the rectangular selection with white, now you have a big stripe!
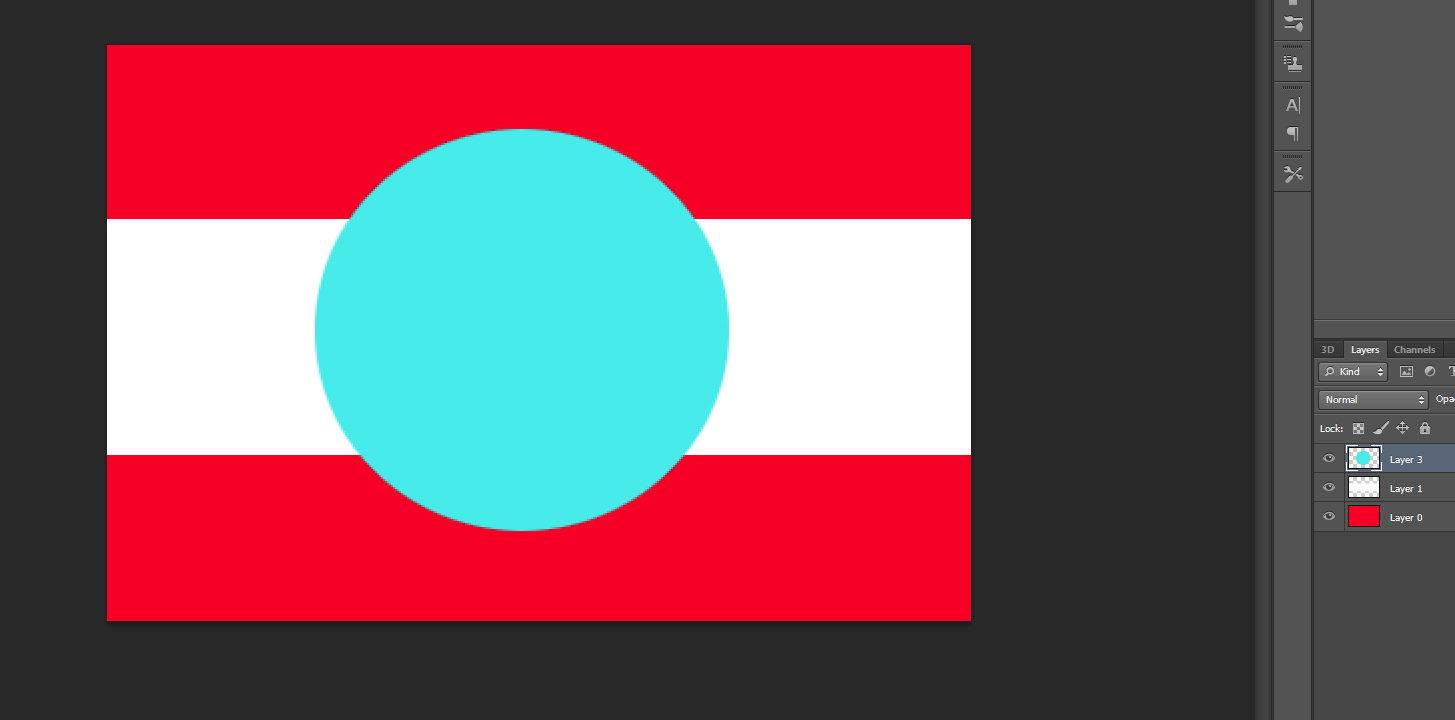
5. On a new layer, use the Eliptical Marquee Tool to draw a circle. If you want it perfectly round, hold Shift while you draw it. Fill if with the color of your choice.
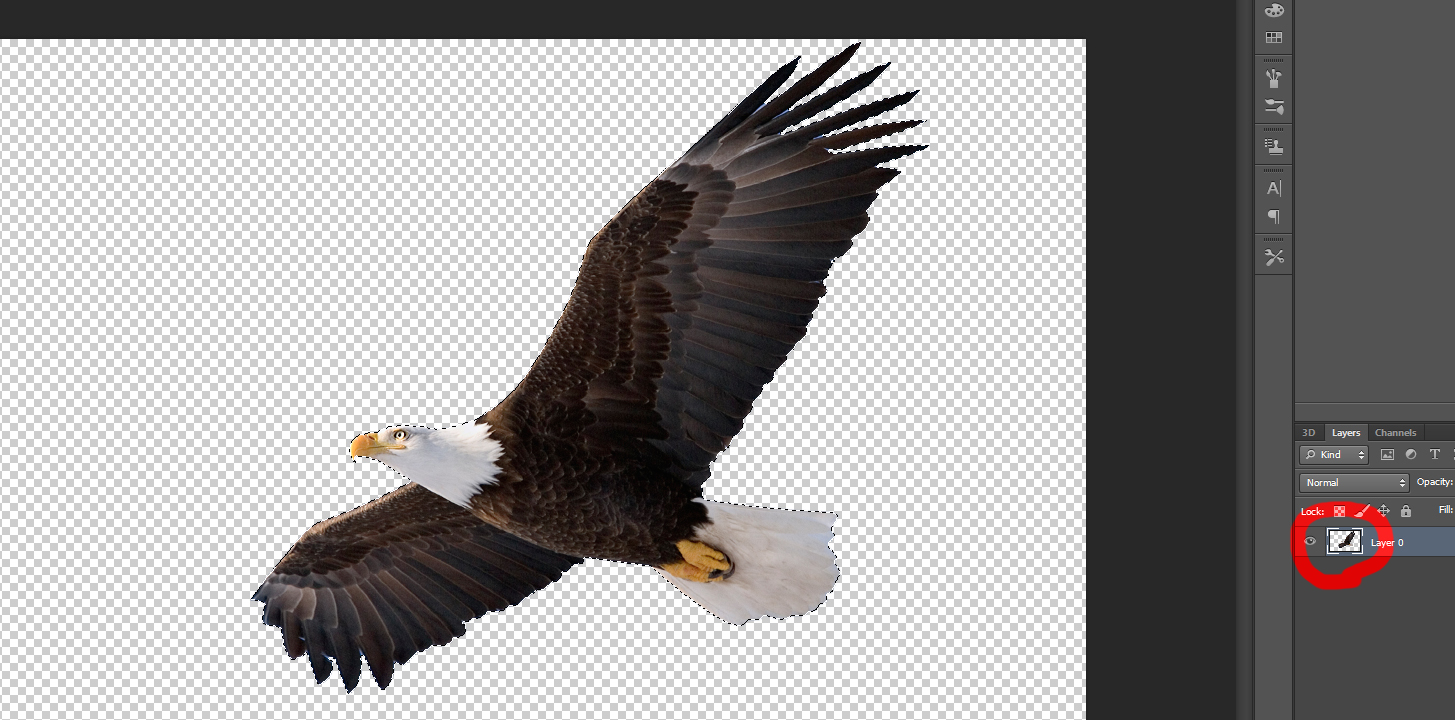
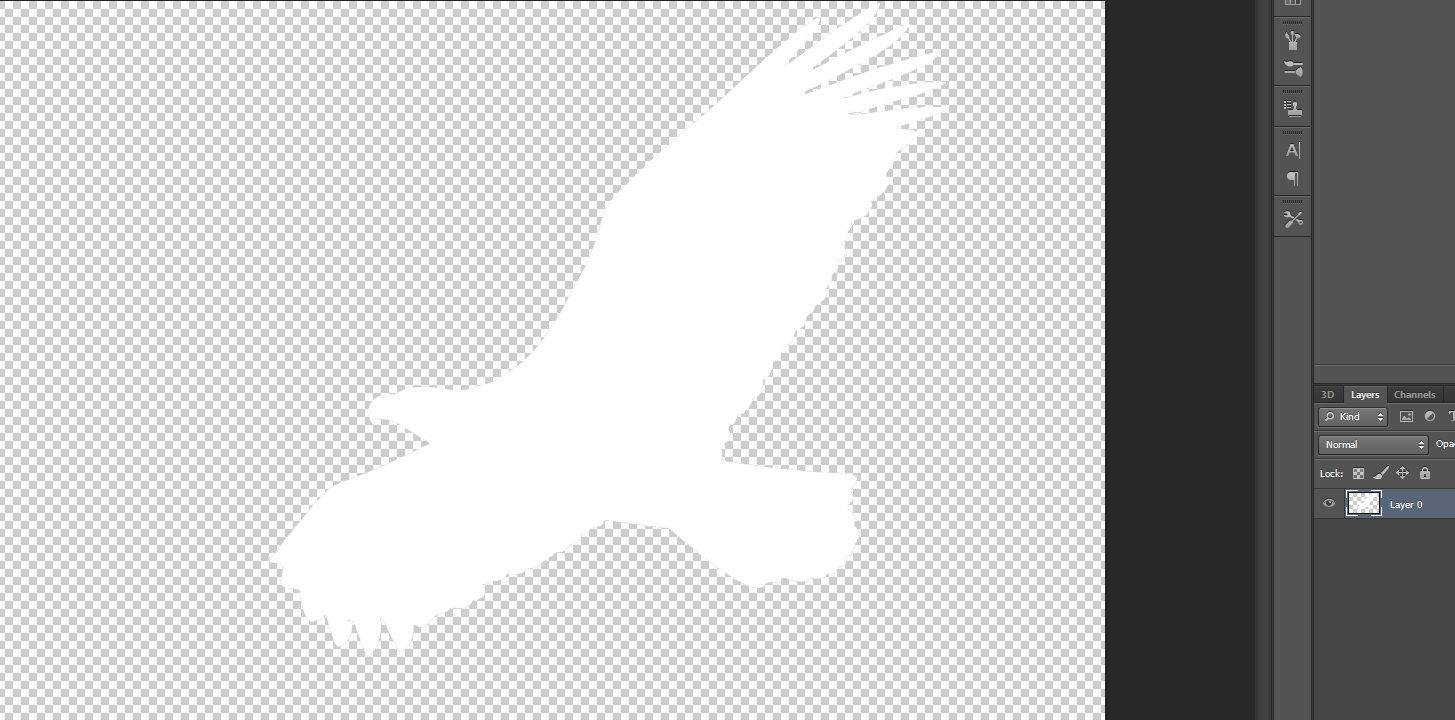
6. Pick an animal or object that you associate with Seward. Find a photo of this animal (not clipart). Cut out the animal perfectly! I chose this eagle photo:

7. Once you have your object/animal cut out as perfectly as possible, hold Ctrl as you click on the box next to the layer (see red circle). This will select your object/animal perfectly.
7. Fill your object/animal with a color of your choice. I chose white. Now you have a flat silhouette of you object/animal.
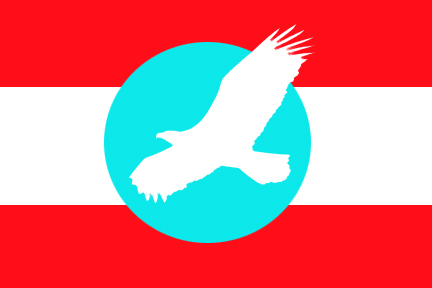
8. Put this silhouette onto your Flag! Arrange things in an appealing way! Use the move tool to move objects. Remember you can go to Edit, Transform to change the size, rotate, etc on different layers. Save as a jpeg! You have completed the first part of this assignment 🙂